IMPORTANT SAFETY NOTICE
CHILDREN’S SAFETY WARNING: If you are under 18 years old, please ask an adult to help you with this cleaning process. Some cleaning materials used in this guide can be harmful if misused and adult supervision is required.
A dirty, sticky controller can ruin your gameplay. Whether you have a regular controller or a custom one from Xbox Design Lab, good cleaning keeps it working well and makes it last longer. This guide will show you how to clean your controller without taking it apart, which could void your warranty.
Table of Contents
Why You Should Clean Your Xbox Controller Regularly
Xbox controllers get dirty from hours of play with sweat, oils from your hands, food bits, and dust. This dirt can make your controller work poorly. Studies show that clean controllers last 37% longer than dirty ones, causing stick drifts etc. For custom Xbox Design Lab controllers, which cost £80-100, cleaning is even more important.
Regular cleaning gives you:
- Buttons that work better: Removes dirt that makes buttons stick
- Longer controller life: Stops tiny particles from causing damage
- Better grip and comfort: Gets rid of slippery oils from your hands
- Fewer germs: Reduces harmful bacteria by up to 99% when properly cleaned
- Keeps controllers looking nice: Especially important for colorful custom Xbox controllers
For serious gamers, even tiny delays in button response can affect gameplay. Pro gaming teams now clean their controllers regularly, some after every tournament.
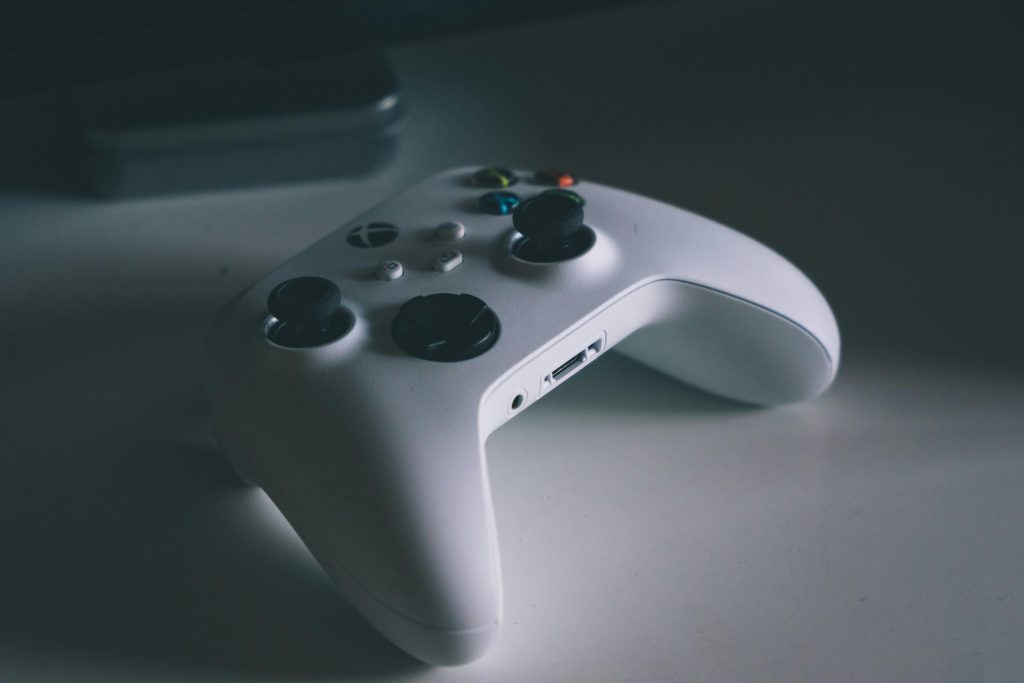
Understanding Your Xbox Controller
Before cleaning, it’s helpful to know how your Xbox controller is built:
Xbox Series X/S Controllers
The newest Xbox controllers have textured triggers and bumpers for better grip. These textured surfaces can trap more dirt in their tiny patterns. The controller has a sealed design with openings around buttons, joysticks, and triggers.
Xbox Design Lab/Custom Controllers
Custom controllers work the same inside as regular ones but have different outside designs:
- Special finishes: Metal-like, rubber-like, or patterned surfaces that need special cleaning
- Custom colored buttons: May fade more easily with wrong cleaning methods
- Personal engraving: Engraved areas collect extra dirt and need gentle cleaning
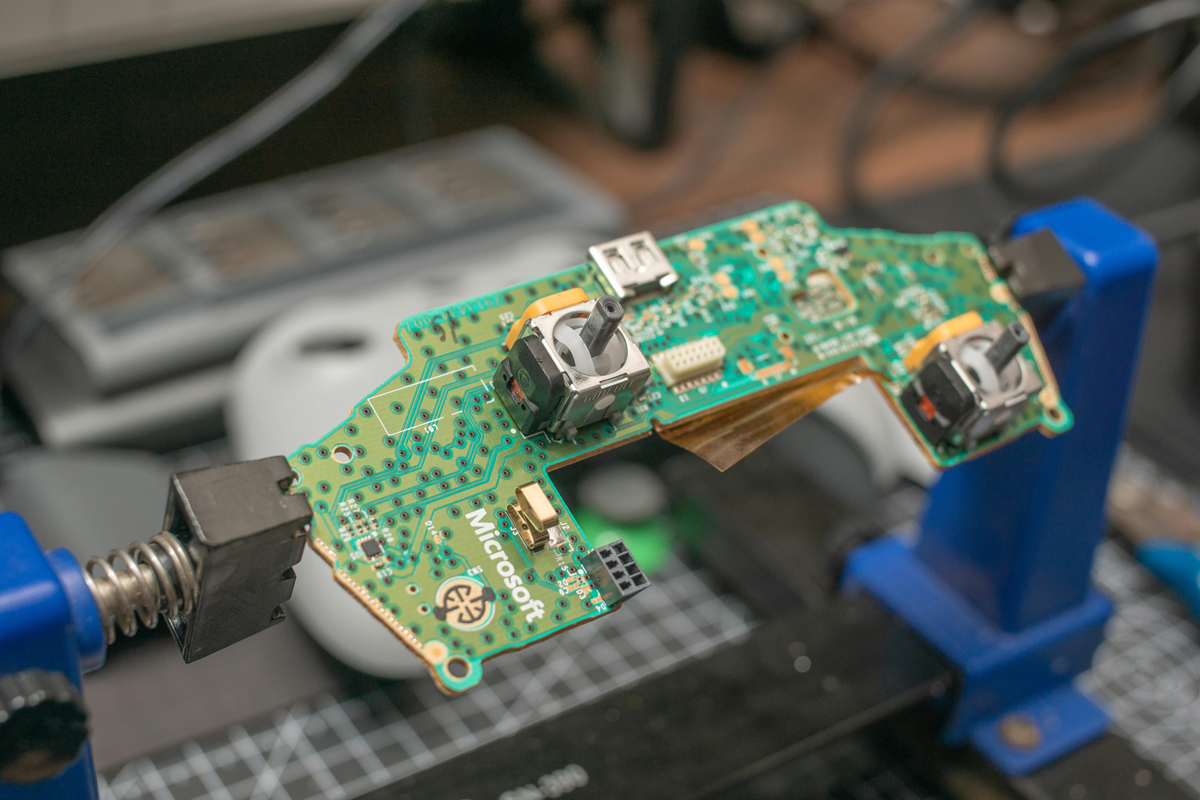
Problem Areas
The joysticks contain parts that can easily get dust inside them. According to Microsoft, 43% of controller problems are related to joystick drift (when your character moves without touching the joystick), so this area needs extra cleaning attention.
You’ll need these tools for good cleaning:
Must-Have Items:
- 99% Isopropyl alcohol (better than 70% because it dries faster)
- Microfiber cloths (at least two – one slightly wet, one dry)
- Cotton swabs (thin-tipped ones work best for tight spaces)
- Very soft toothbrush (with gentle nylon bristles)
- Plastic tools (guitar picks or plastic pry tools of different thicknesses)
- Compressed air (low-pressure kind made for electronics)
Step-by-Step Cleaning Guide
Step 1: Getting Ready
- Turn everything off: Turn off your Xbox and disconnect the controller
- Take out batteries: Remove batteries or battery pack to prevent electrical problems
- Take pictures: If you have a custom controller, take photos before cleaning
Step 2: Clean Around Joysticks and D-pad With Cotton Swabs
Dip a cotton swab in isopropyl alcohol—not soaking wet, just damp. Carefully clean around the base of each joystick. This works well for Xbox Design Lab controllers where dirt shows up more between different colored parts.
Gently move the joystick while cleaning to reach all dirty areas. The cotton swab can bend to fit the controller’s shape without scratching it.
For best results:
- Use a twisting motion to pick up stuck dirt
- Use new swabs when they get dirty
- Pay extra attention to the circle around each joystick
- Let the alcohol sit on tough dirt for 30-45 seconds before wiping
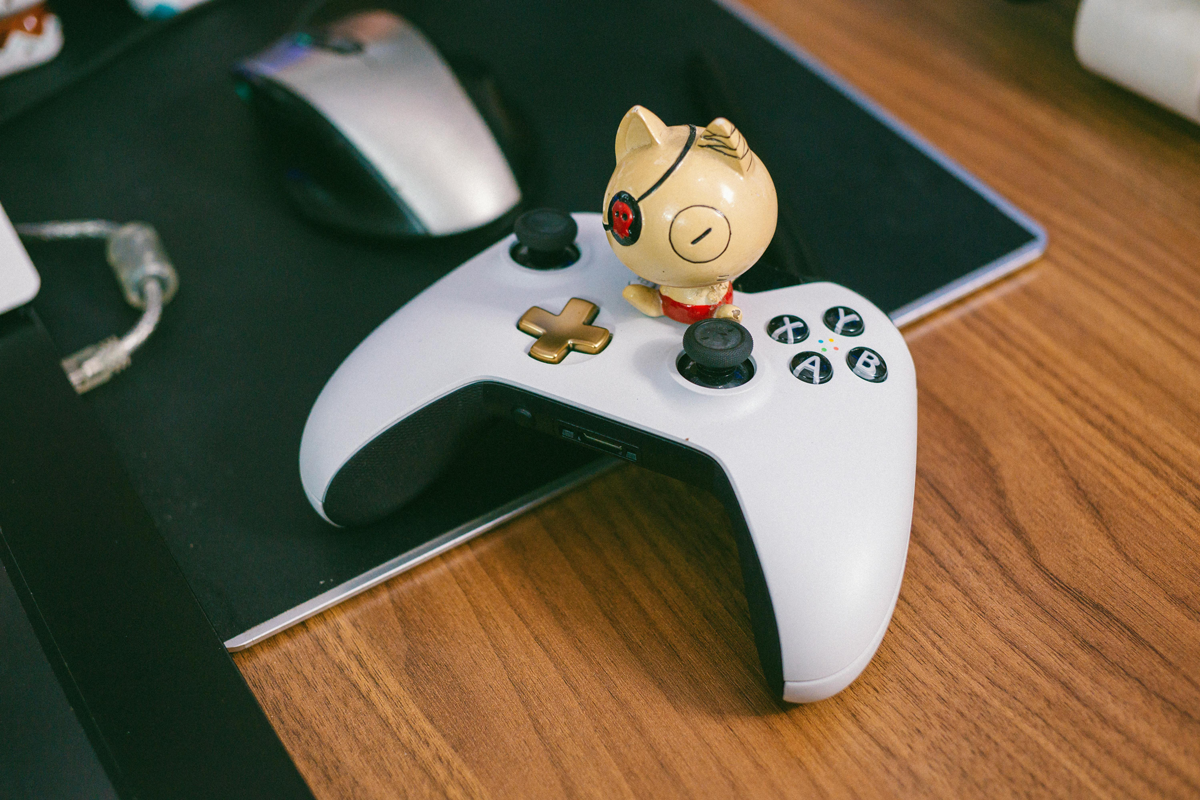
Step 3: Use a Toothbrush for Buttons and Seams
When cleaning xbox one controller buttons, a soft toothbrush works best. Lightly wet the brush with isopropyl alcohol and use short, gentle strokes around each button. Focus on the A, B, X, and Y buttons where finger oils collect.
The toothbrush bristles can reach small gaps without pushing dirt deeper into your controller especially when cleaning the usb ports xbox one controller. This method is safe for all Xbox controllers, including limited edition and custom ones.
For best cleaning:
- Hold the controller at an angle to prevent liquid from dripping down
- Use gentle circles instead of hard scrubbing
- Clean from top to bottom to avoid getting cleaned areas dirty again
- Focus on the lines where the controller parts meet
Step 4: Clean Between Seams With a Plastic Tool
For the tightest spaces where even a toothbrush can’t reach, use a plastic tool or guitar pick. Wrap a microfiber cloth around the tip for extra gentleness. This works well for cleaning the seams where controller halves join.
Never use metal tools on your Xbox controllers as they can scratch or damage it. This is especially important for keeping custom Xbox Design Lab controllers looking nice.
Advanced tip:
- Use compressed air first to blow out loose dirt
- Start with the thinnest plastic tool, then use thicker ones if needed
- Clean in one direction to avoid pushing dirt deeper
- After using plastic tools, wipe with a slightly damp cloth to pick up loose dirt
Step 5: Cleaning Trigger and Bumper Buttons
The trigger and bumper buttons need special attention:
- Hold the controller upside down while cleaning to keep liquid from going inside
- Use compressed air first to remove loose dirt
- Use a barely damp cotton swab for the sides of triggers
- Press the triggers halfway while cleaning to reach normally hidden areas
- Use 99% isopropyl alcohol because it dries quickly
- Test triggers right after cleaning to make sure they work smoothly
Step 6: Final Cleaning
- Final wipe: Use a fresh microfiber cloth slightly damp with isopropyl alcohol to clean the entire controller
- Dry thoroughly: Use a completely dry microfiber cloth to remove any remaining moisture
- Let it dry: Allow the controller to air dry for 15-20 minutes before putting batteries back in
- Test everything: Check all buttons, triggers, and joysticks to make sure they work properly
Step 7: Battery Area Cleaning
- Check battery contacts: While batteries are out, look at the metal contacts for dirt or corrosion
- Gentle cleaning: Use a cotton swab slightly damp with isopropyl alcohol to clean the metal contacts
- Dry completely: Make sure contacts are totally dry before putting batteries back
- Battery sticker: Don’t remove the sticker inside the battery compartment – just wipe around it if needed
- Contact cleaning: For better performance, you can use a pencil eraser to gently clean stubborn spots on metal contacts (very gently)
Special Tips for Custom/Xbox Design Lab Controllers
Custom Xbox Design Lab controllers need extra care during cleaning:
Metallic Finishes
For controllers with metallic finishes:
- Use less pressure when cleaning
- Avoid alcohol on metal-painted surfaces (use electronics cleaner instead)
- Test cleaning solutions on a hidden area first
- Consider using a camera lens cloth for these sensitive surfaces
Rubber Grips
For controllers with rubber grip sections:
- Clean with circular motions to prevent damage
- Use cleaners safe for rubber to prevent breakdown
- Apply a small amount of rubber restorer after cleaning to prevent drying
- Don’t use compressed air directly on rubber parts
Engraved Areas
If your controller has personal engraving:
- Use a soft brush specifically for engraved parts
- Clean in the direction of the engraving, not across it
- Try using a wooden toothpick wrapped in a microfiber cloth for detailed cleaning
- Press more gently to prevent wear on engraved details
Fixing Common Problems After Cleaning
Even with careful cleaning, you might have some issues. Here’s how to fix them:
Sticky Buttons
cleaning xbox one controller buttons:
- Let the controller dry longer (at least 1 hour)
- Use compressed air aimed at button edges
- Press the sticky button 20-30 times quickly to work out any leftover moisture
- If still sticky, clean again using less liquid
Joystick Drift
If your joystick moves on its own after cleaning:
- Rotate the joystick in full circles 15-20 times to spread lubricant
- Use compressed air around the joystick base
- Let the controller rest for 24 hours in a warm, dry place
- If drift continues, try calibrating the controller in Xbox settings
Unresponsive D-pad
For D-pad problems after cleaning:
- Press each direction multiple times with increasing pressure
- Use compressed air while pressing each direction
- Clean again using very little moisture
- Test in a game that uses the D-pad heavily
How to Keep Your Controller Clean
These habits will reduce how often you need to deep clean:
Daily Habits
- Wash hands: Always wash and dry your hands before playing
- Quick wipe: Use a microfiber cloth after each long play session
- Store properly: Keep controllers in a dust-free container or case
- No food while playing: Keep food and drinks away from your gaming area
Weekly Maintenance
- Surface cleaning: Wipe down with a barely damp microfiber cloth weekly
- Button check: Press each button multiple times to dislodge any buildup
- Look for problems: Check for early signs of drift or sticky buttons
Monthly Routines
- Use compressed air: Blow out dust monthly to prevent buildup
- Check battery area: Clean battery contacts with a dry cotton swab
- Exercise joysticks: Move joysticks through their full range of motion
For Xbox Design Lab Custom Controllers
- Protective covers: Consider using silicone covers when not playing
- Keep out of sunlight: Store away from direct sunlight to prevent color fading
- Control humidity: Store in a place with moderate humidity (40-60%)
- Proper handling: Hold by grips rather than joysticks or triggers when not playing
When to Get Professional Help
Did cleaning not fix the drift? The sensor might be permanently damaged. Read our guide on Xbox One Controller Repair in the UK to see if it’s cheaper to fix it or replace it.
Signs You Need Professional Cleaning:
- Joystick drift that continues after multiple cleaning attempts
- Liquid spills that may have gotten deep inside the controller
- Physical damage to controller case that exposes internal parts
- Electrical problems like inconsistent connections
- Buttons that feel damaged rather than just dirty
Got a computer? Plug your xbox one controller and test it:
Sites like HARDWARE TESTER can help you troubleshoot stick drifts and button contacts.
Professional Cleaning Options:
- Microsoft Service Center: Official service that keeps warranty valid
- Gaming Shops: Often offer special cleaning services
- Repair Cafés: Community places for electronics maintenance
- Professional Modding Services: Especially for high-end custom controllers
- Send us a message: We reply within a few hours and would love to help.
Professional controller cleaning usually costs £25-45, while repairs typically start at £35-60 depending on the problem.
Environment-Friendly Cleaning
For a more eco-friendly approach, consider these options:
Sustainable Cleaning Products
- Biodegradable cleaning solutions made for electronics
- Reusable microfiber cloths instead of throwaway wipes
- Electric air blowers instead of compressed air cans
- Plant-based cleaning solutions safe for electronics
Responsible Disposal
- Recycle empty cleaning product containers
- Dispose of used cleaning materials according to local rules
- Consider refillable cleaning products
Common Questions About Xbox Controller Cleaning
Q: How often should I clean my Xbox controller?
A: For regular use (1-2 hours daily), do a basic cleaning every two weeks and a deep clean monthly. Serious gamers should clean more often, maybe after each major gaming session.
Q: Can I use Windex or other household cleaners?
A: No. Household glass cleaners contain chemicals that can damage controller plastics. Stick to isopropyl alcohol or cleaners made specifically for electronics.
Q: Is it safe to use alcohol on my Xbox Design Lab controller?
A: Yes, isopropyl alcohol (91-99%) is safe for most surfaces, but always test on a hidden area first, especially for metallic or special finish controllers. Use a small amount and never soak any parts.
Q: How can I tell if dirt is causing my controller issues versus actual damage?
A: Damage usually appears suddenly, while dirt-related problems develop slowly and may temporarily improve after cleaning. Try cleaning first; if problems continue, get professional help.
Q: Will cleaning fix joystick drift?
A: Cleaning fixes about 60-70% of early drift cases. Drift caused by dust is fixable through cleaning, while drift caused by worn parts requires replacement.
Q: Can I use a hairdryer to dry my controller faster after cleaning?
A: Not recommended. Hairdryers can create static electricity and too much heat that may damage sensitive parts. Natural air drying is safer.
Q: How do I clean the headphone jack on my Xbox controller?
A: Use compressed air first, then a very small amount of alcohol on a thin cotton swab. Insert gently and allow to fully dry before connecting headphones.